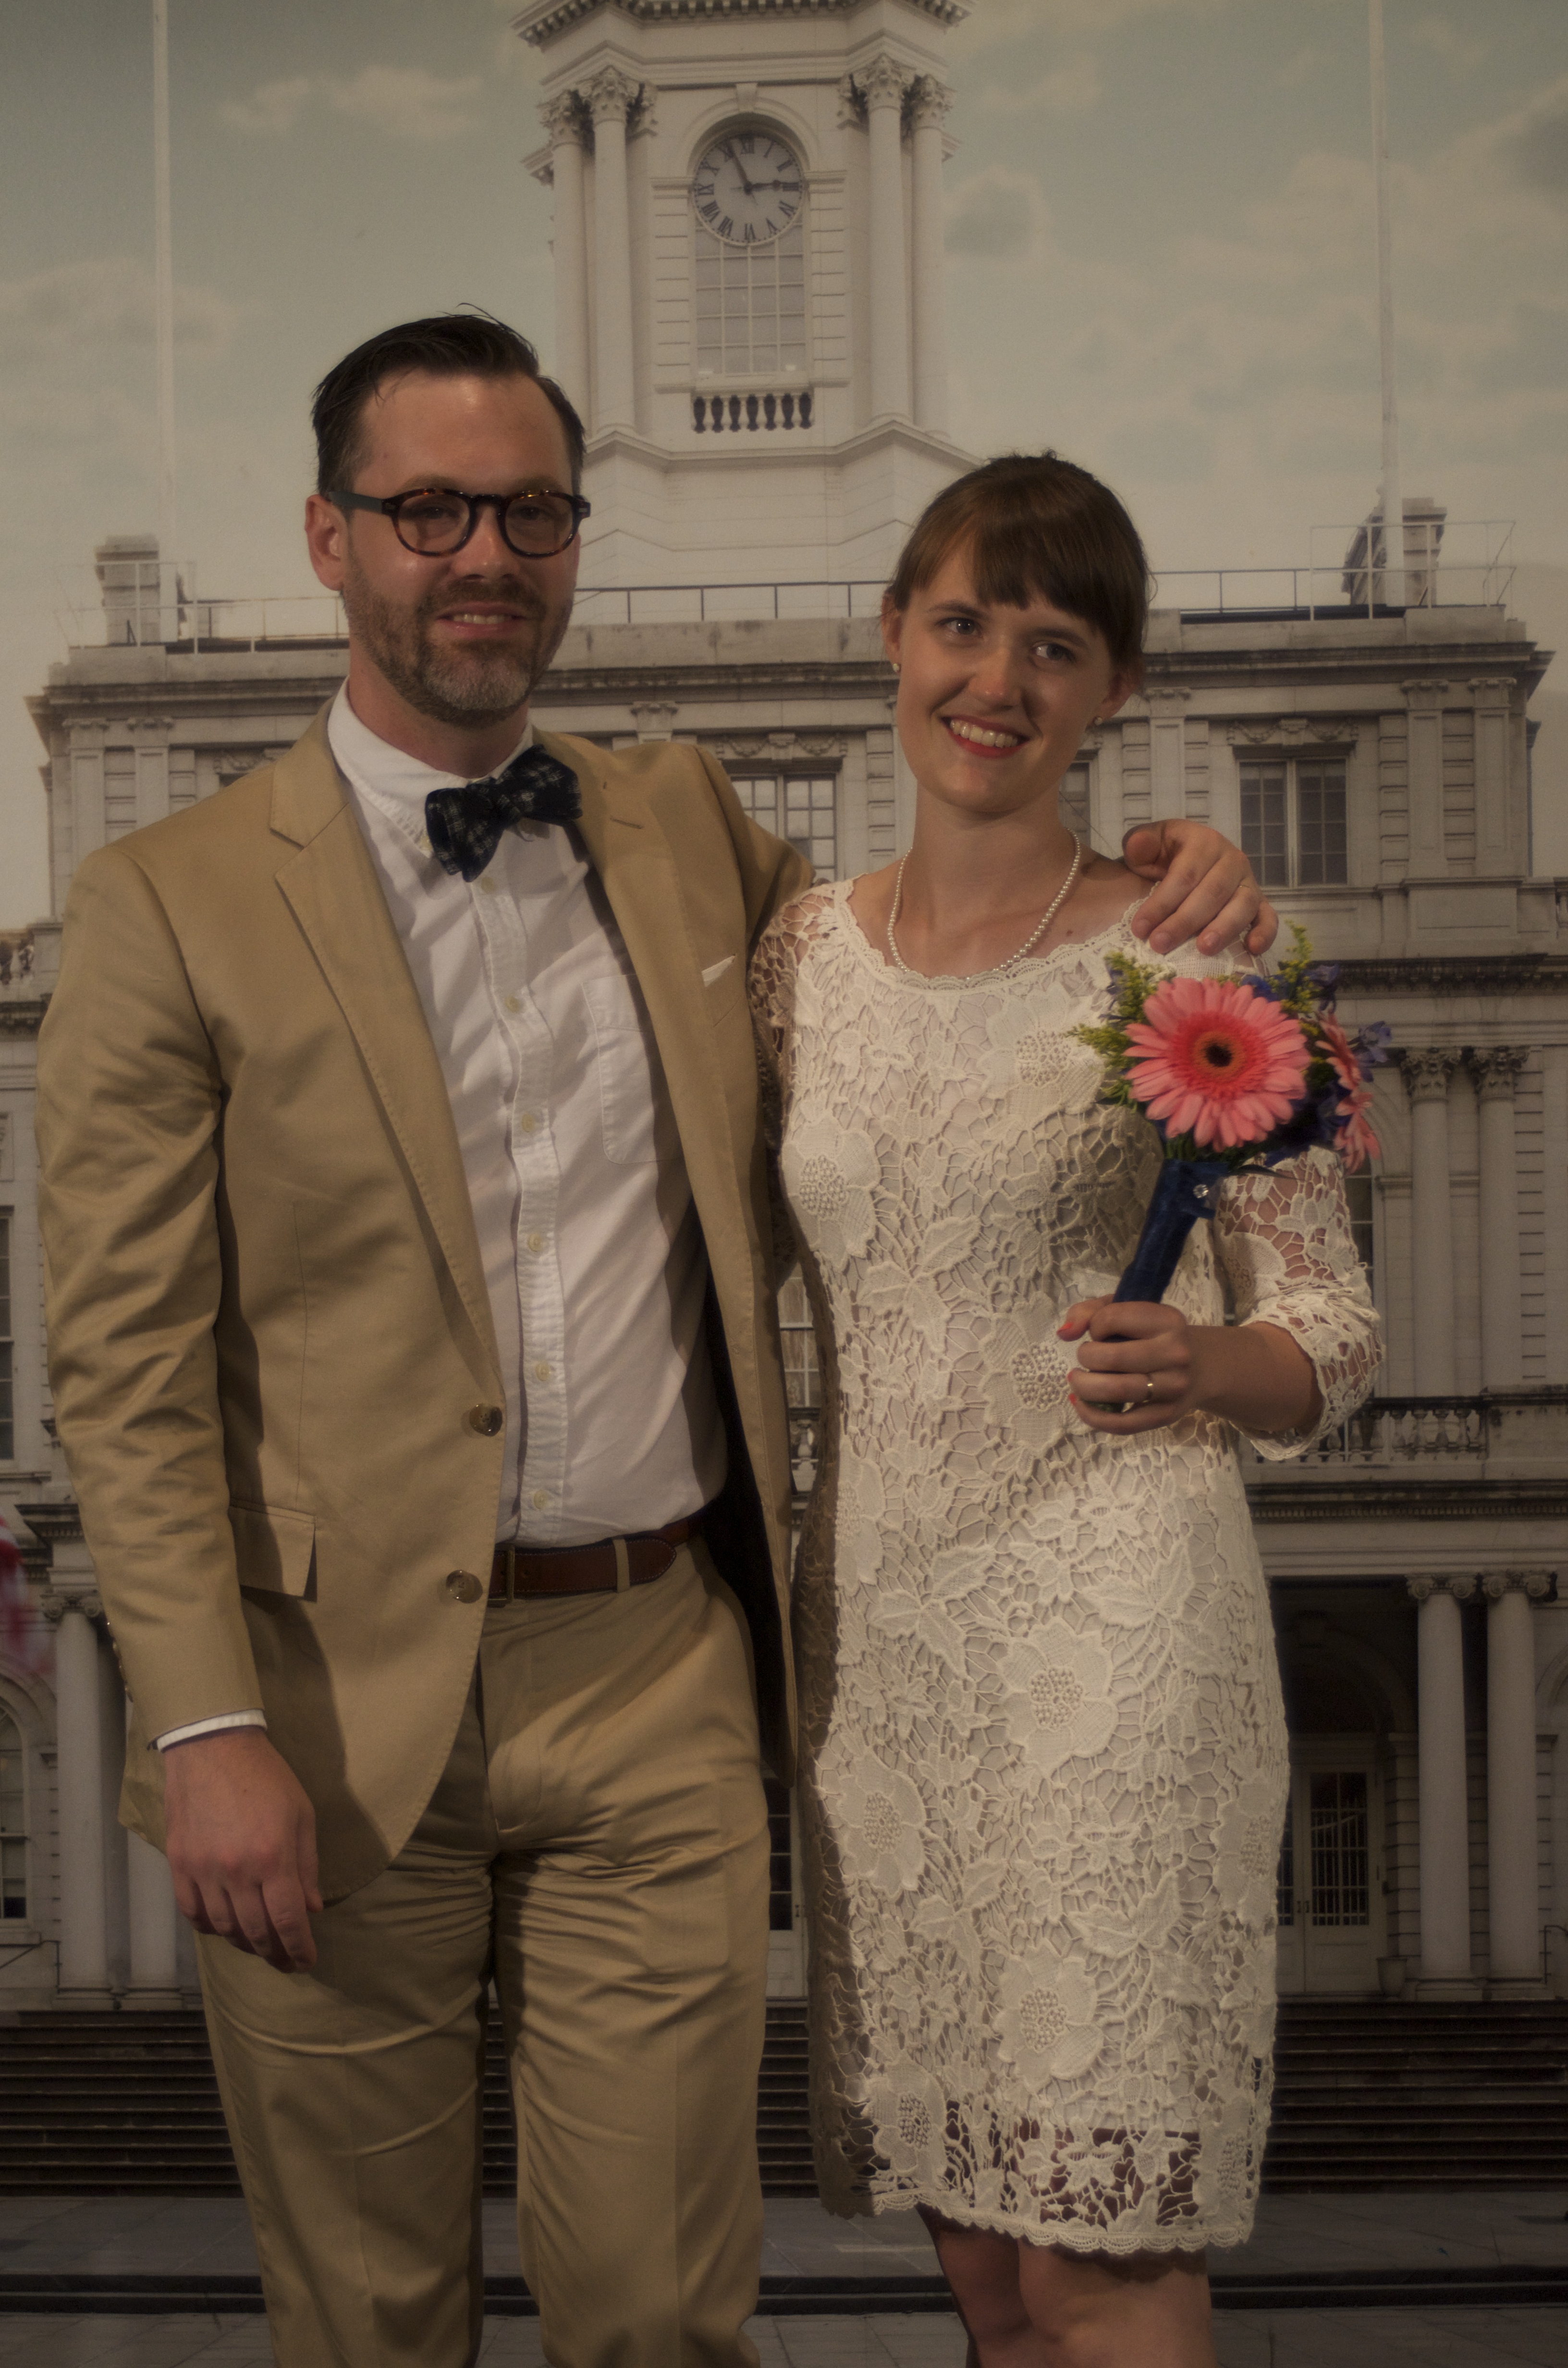
My daughter Emily recently got married to her long-time guy Dan! It was a wonderful occasion, and we are so happy to have both of them in our lives. They live in Brooklyn and enjoy doing fun things like biking to parks, making cheese and sausage, and having picnics. After scratching my head for a while, I finally realized what they needed:
This bike basket/box was constructed in 4 main stages. First the insides of the box with straps, sheaths, and loops was made to hold all the picnic gear securely. This can hold a knife, wine bottle, corkscrew, plates, glasses, cutting board, salt and pepper shakers, forks, knives, and spoons, and there is still room for food!

The liner was cut out as one piece and all the inner fasteners were sewn by hand into place. Next, the lining was glued to the support pieces, which were cut to fit each side. The bottom support is 3/8″ plywood to provide overall structural support for the entire unit. The other sides and curved flap are lined with rawhide, which is very stiff but can move without breaking. After the lining supports were glued into place, the inner portion of the box was sewn together using a baseball stitch.

The outer cover was one piece except for the curved flap. Straps and “D” rings were attached first, and then the outer cover was formed over the inner box. Like many things in life, I had no idea how to actually do the whole thing when I started, and for a few days I got stuck on how to hold the entire thing together. My first thought was to hand sew the whole unit, much like I do with my leather boxes. As I got to that stage, I realized that this would not work well, because it was too thick and each layer had rawhide or plywood lining, and the stitching would not be nice. I next thought that I would rivet it together using copper rivets, but I could not get a flat iron in the right position inside to support the back of the rivets for setting. I was getting desperate and even contacted a few blacksmith/metal working friends of mine.
Then I stumbled onto the solution: bolt it together. I got various length bolts, washers, and nuts, and these were used to go through the outer, lining, and inner layers. It worked great and was easier to do than hand stitching. Sometimes you need to think outside of the box…
Click here for more photos of the bicycle picnic basket.


congratulations on the wedding. You must be justifiably proud. they are a lovely couple. Also loved the Bike basket. Very, very cool.
Thanks, Dick. I’m a very proud dad indeed!
Wow … what a great gift and what a fortunate gal to have such a cool dad!
Thanks, Ruby. Cool dads only come from cool kids!
They must have been so thrilled with that! It looks amazing, and the fact that you made it yourself means all the more.
Thanks for the nice words!
This is a really creative gift idea.
Thanks, Myla. I appreciate your feedback!